
🚀 New Communities Triggers in Workflows: Automate More, Faster
**More Triggers for Swift Admin Responses and Enhanced Engagement!** We’ve introduced four new community triggers to Clixio Workflows, allowing admins even greater opportunities to respond to significant member activities. This enables the automation of follow-ups, alerts, moderation processes, and event-based engagement, based directly on member interactions within groups.
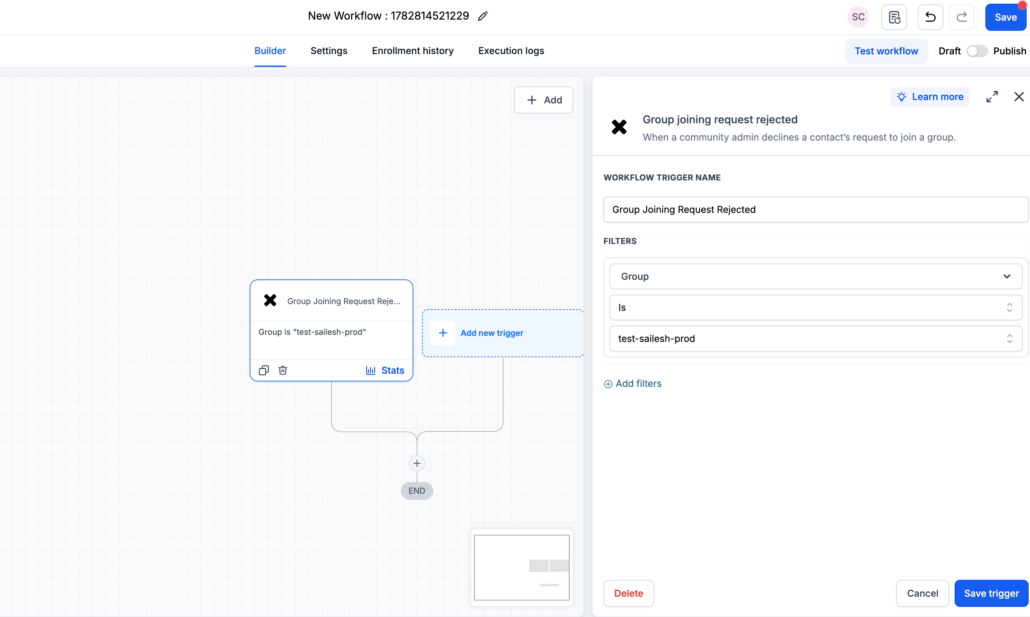
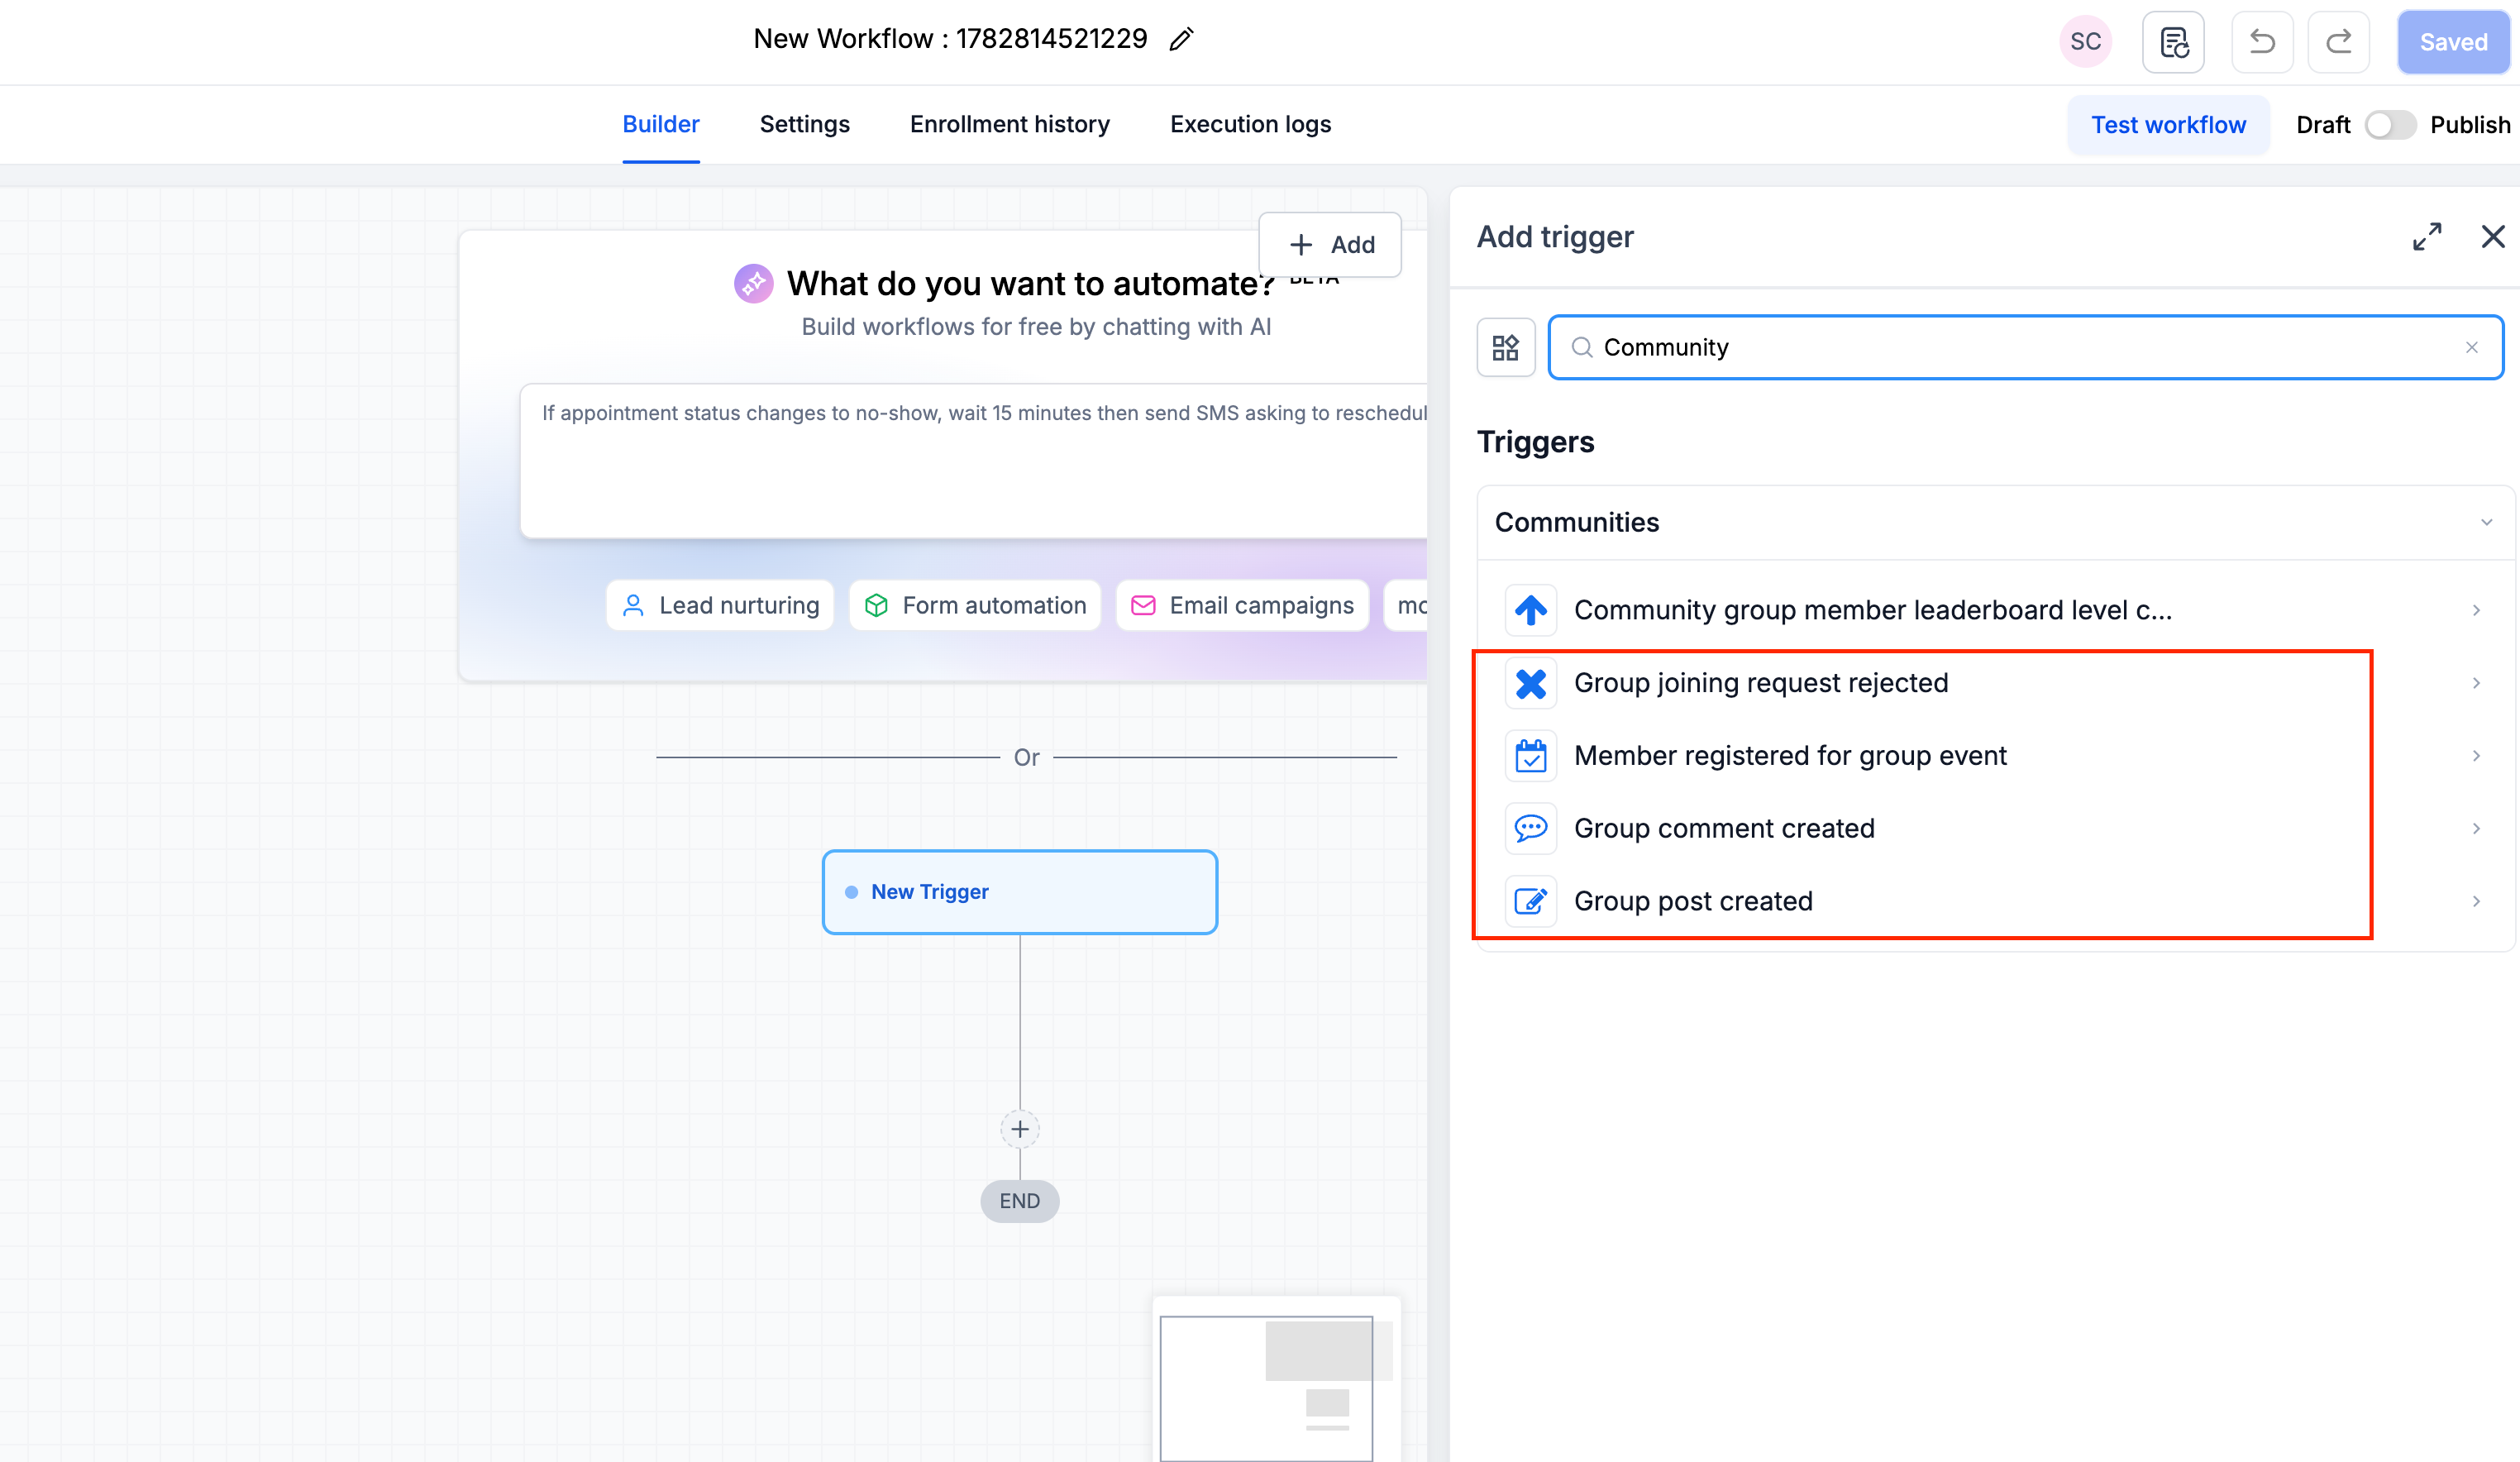
- **Group Joining Request Rejected**
Activate a workflow when a member’s request to join a group is denied.
Filters: Group (required)
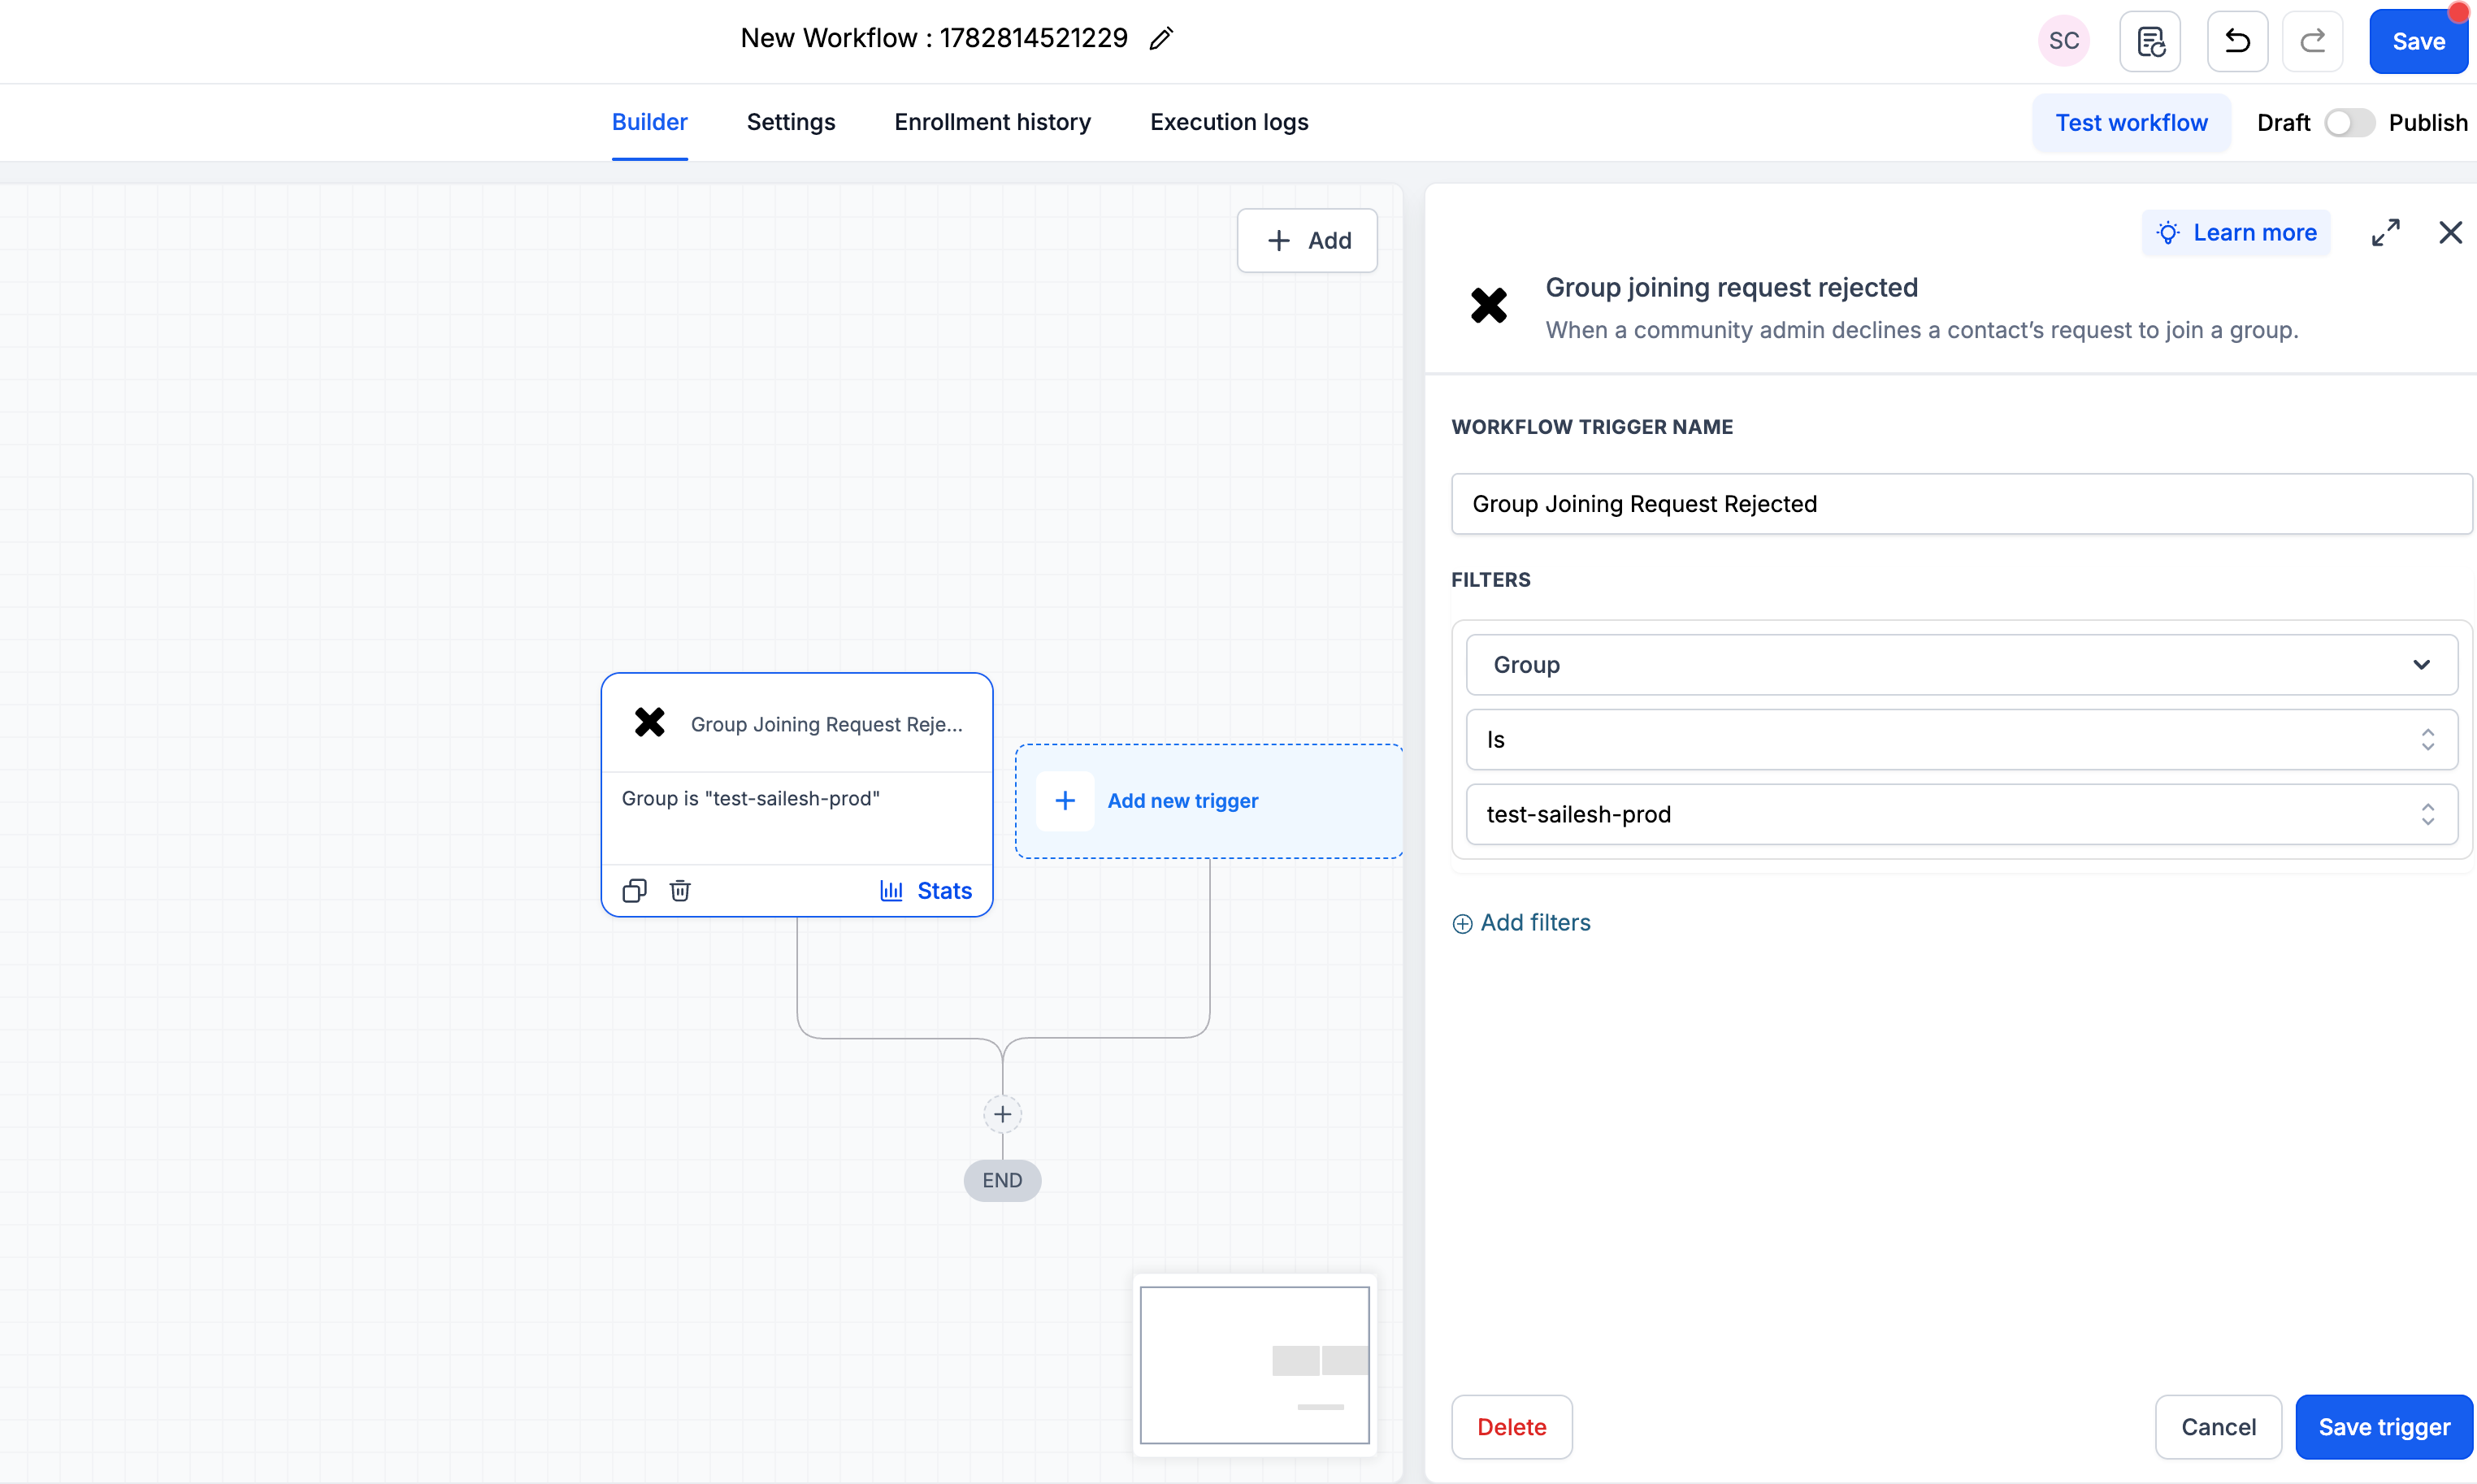
- **Group Post Created**
Activate a workflow when a new post is made in a group.
Filters: Group (required), Channel, Post Title, Post Content
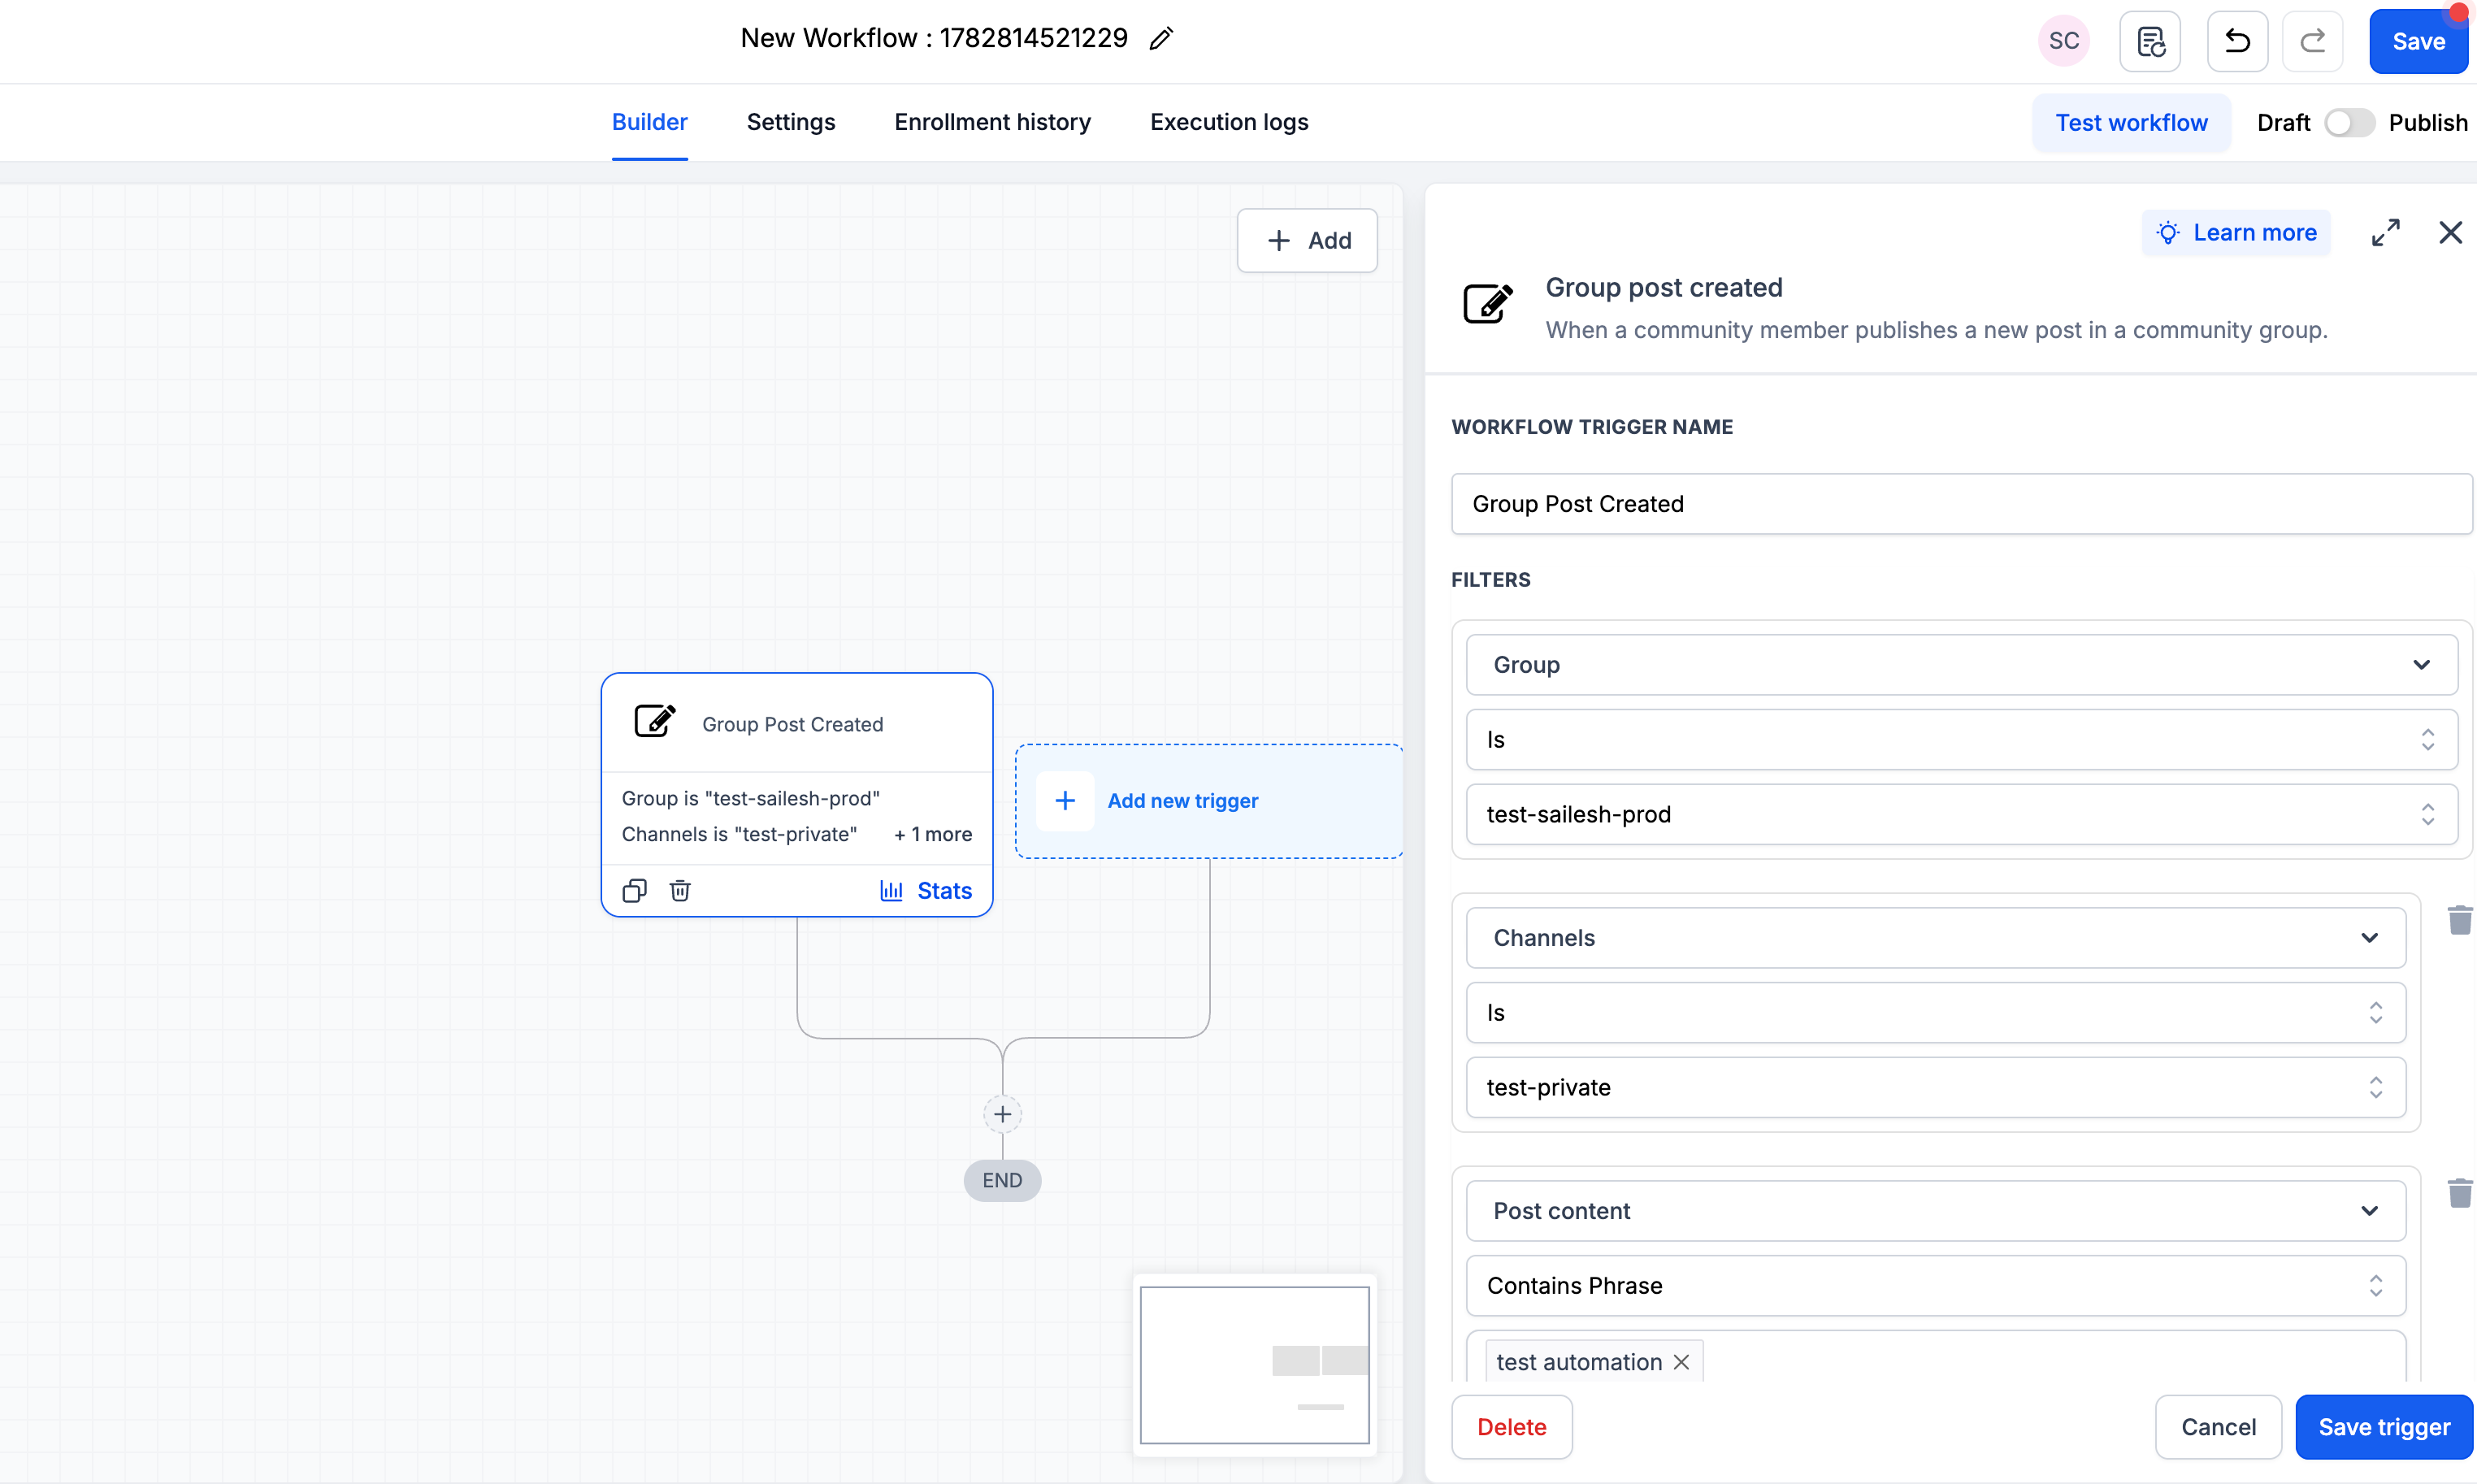
- **Group Comment Created**
Activate a workflow when a new comment is added to a group post.
Filters: Group (required), Channel, Post Title, Post Content, Comment Content
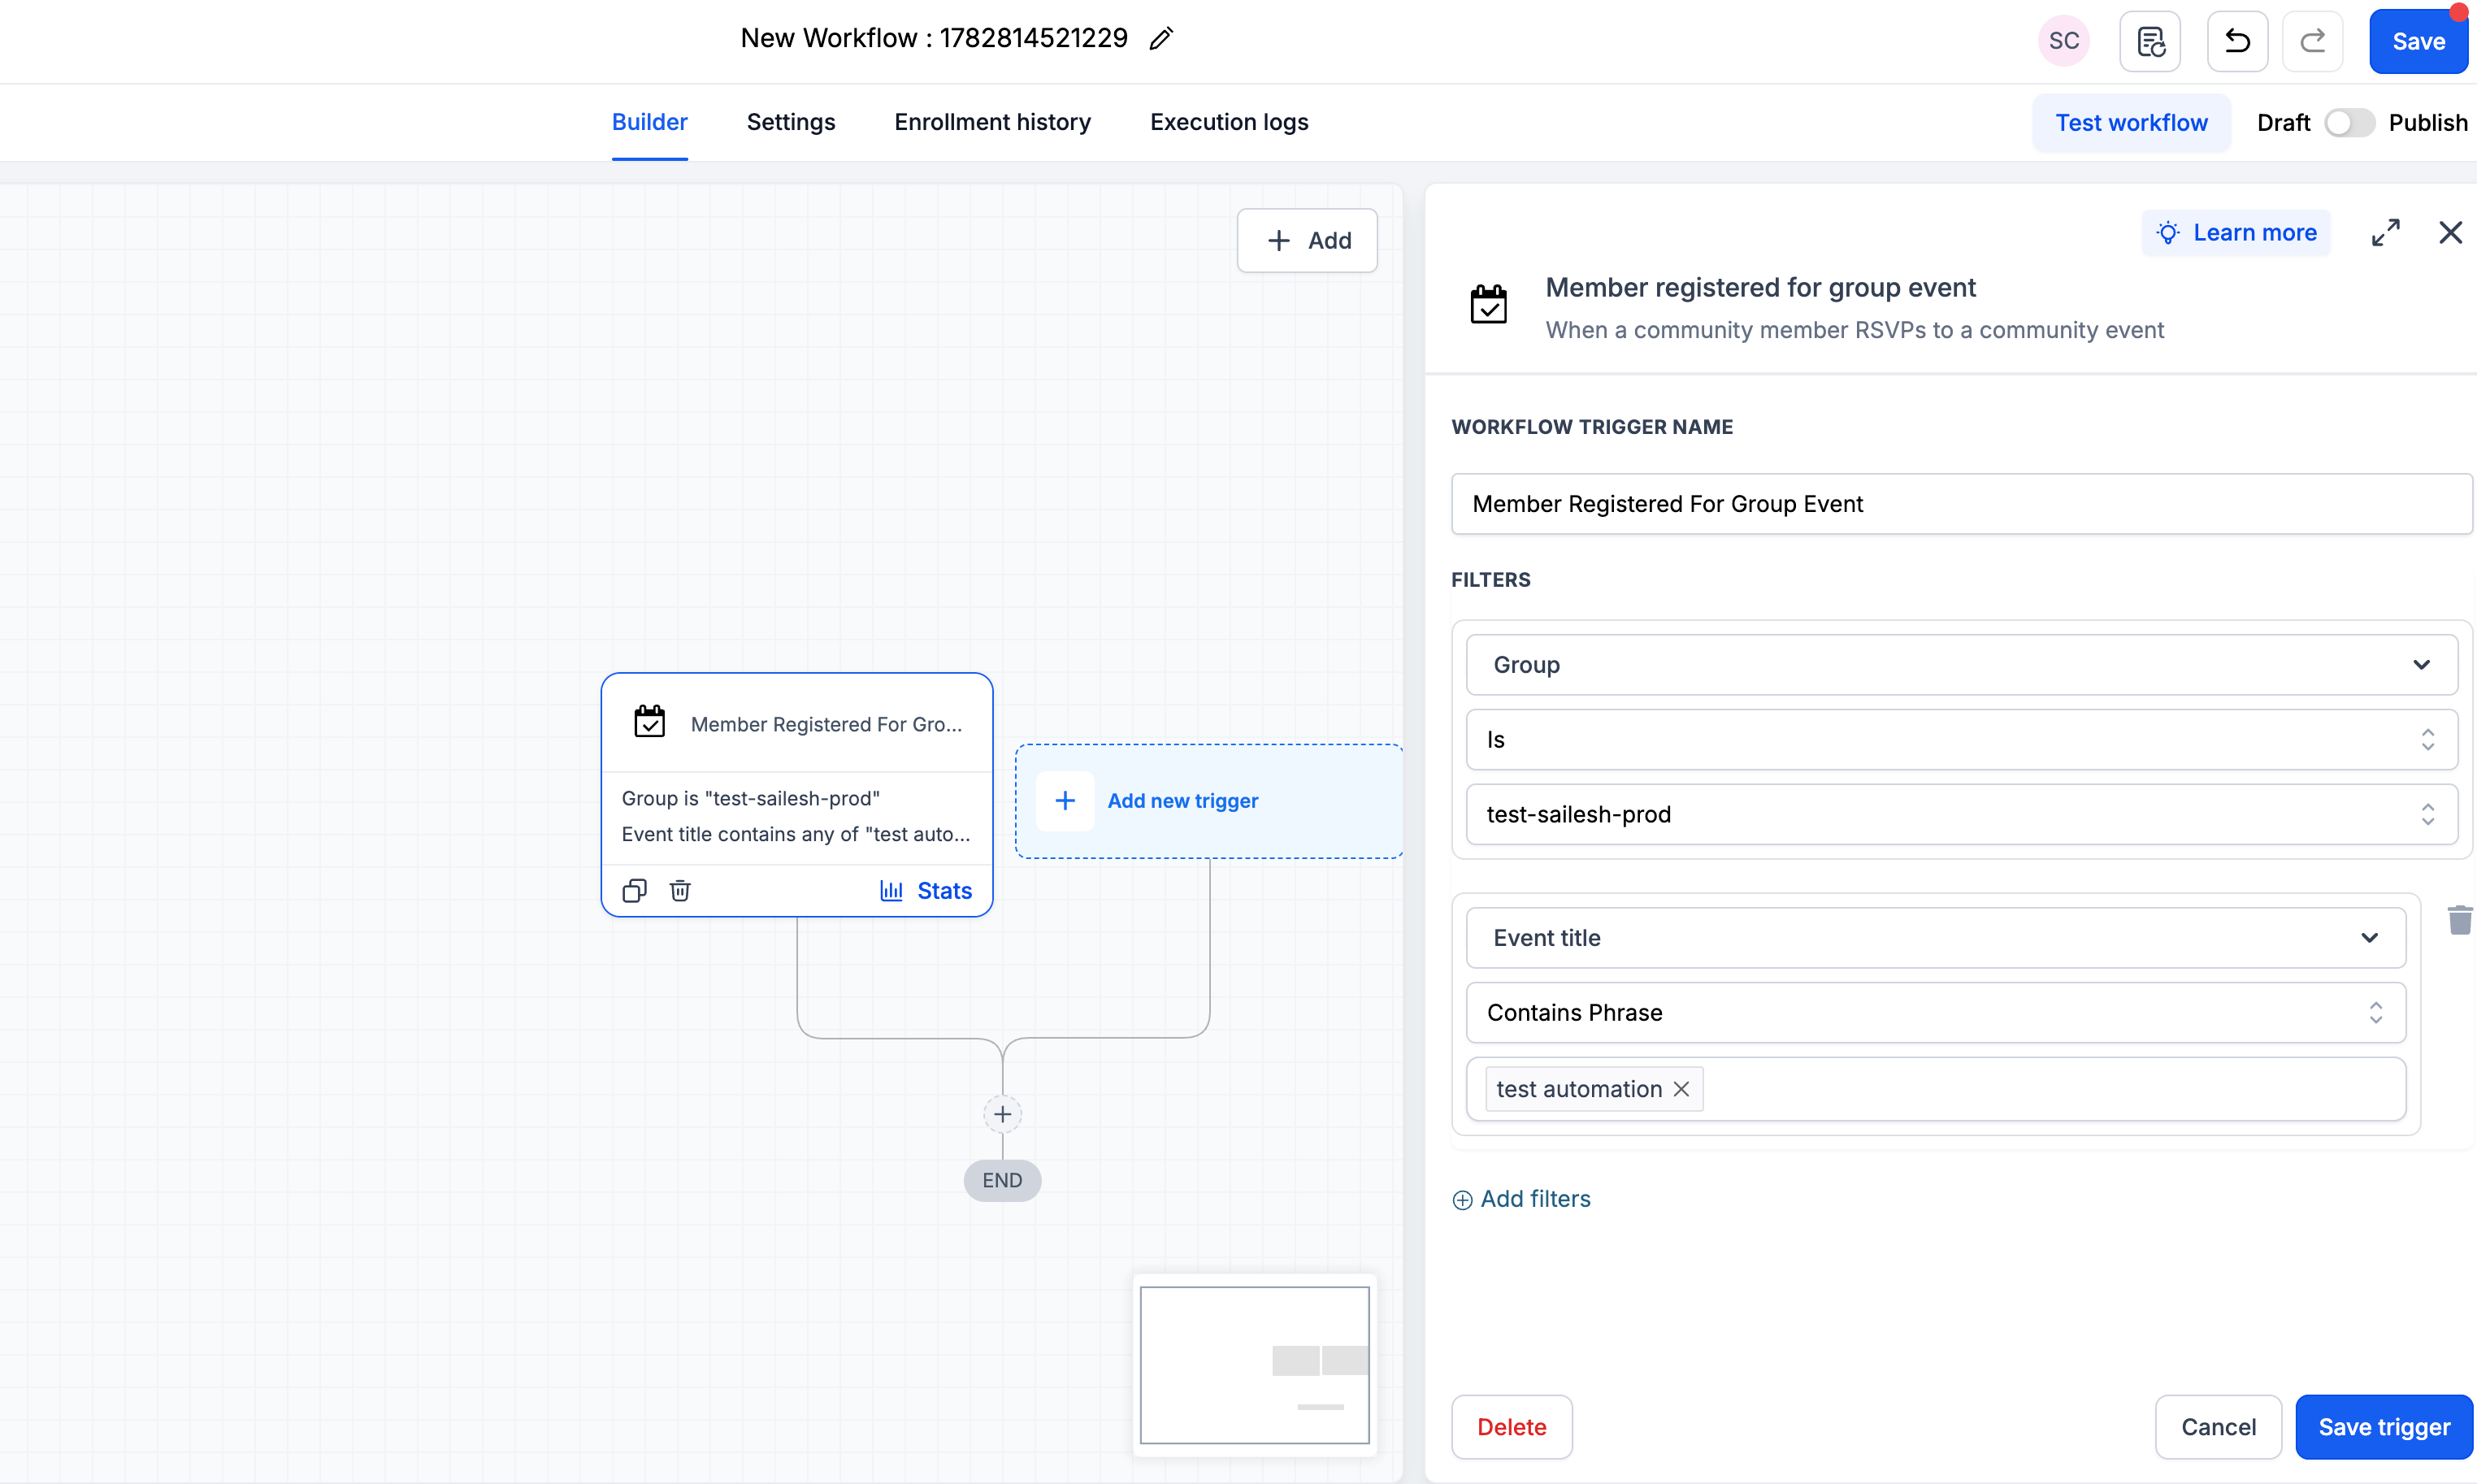
- **Member Registered for Group Event**
Activate a workflow when a member signs up for a group event.
Filters: Group (required), Event Title
**Why This Feature Matters**
**Expanded Automation Possibilities** — Transform everyday community interactions into immediate workflow actions.
**Guided Targeting** — Utilise filters such as channel, post content, comment content, and event title to trigger workflows precisely when necessary.
**Accelerated Moderation and Transparency** — Inform the appropriate individuals, highlight critical activities, or automatically route updates.
**Reduced Manual Effort as Groups Expand** — Automate repetitive engagement and follow-up activities at scale.
**Stronger Link Between Communities and Workflows** — Posts, comments, event registrations, and membership decisions can now fuel even more automated journeys.
To get started, navigate to Automation > Workflows in your sub-account.
Create a new workflow or access an existing one.
Click on ‘Add New Trigger’ and search for “Community” to discover the new triggers.
Select your trigger, choose the group (required), and apply any optional filters such as channel, post title, post content, comment content, or event title.
Complete your workflow actions, hit ‘Save Trigger’, and then ‘Publish’ — your automation is now live!